1. What Is a Guitar Chord Chart?

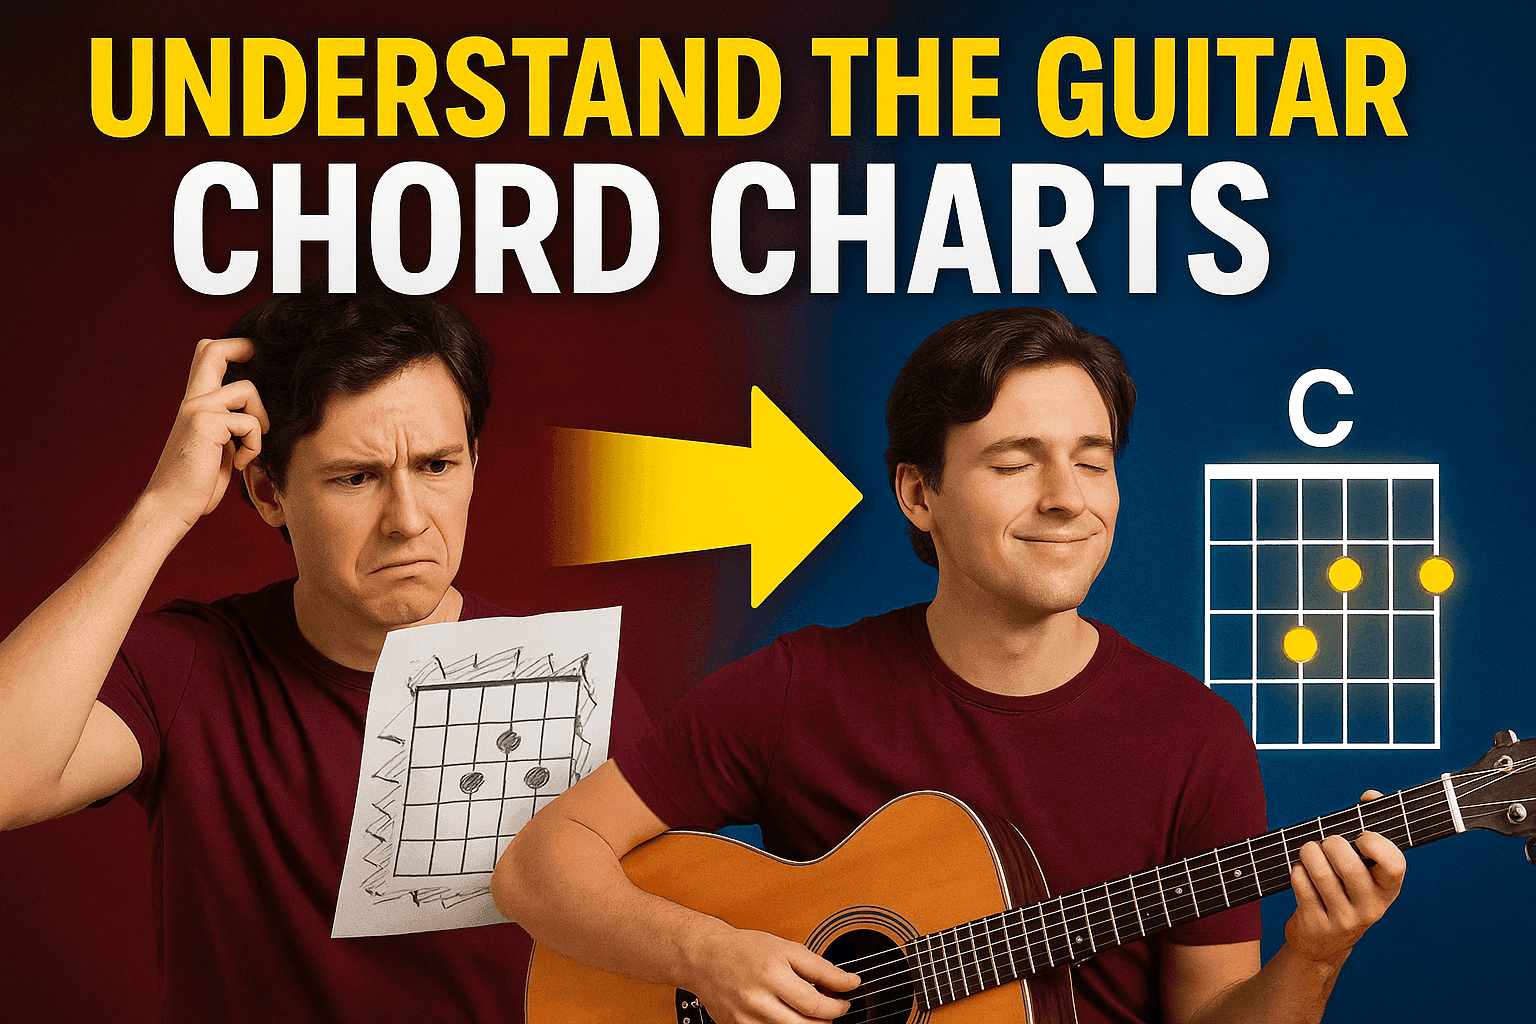
If you're just starting your guitar journey, one of the first things you'll come across is a guitar chord chart. But what exactly is it, and why does every beginner need to understand it?
A guitar chord chart is a visual representation of the guitar fretboard. It tells you where to place your fingers on the strings to form a chord — kind of like a map that guides your fingers to the right destination. It might look confusing at first, but once you understand the layout, it becomes your go-to guide for learning songs and practicing chords.
Why Is a Chord Chart So Important?
You might wonder: can't I just watch videos or follow tutorials? Absolutely — but learning to read a chord chart for guitar gives you independence. Here's why it matters:
- Instant reference – You can look up any chord quickly without watching an entire video.
- Standard format – Musicians around the world use chord charts, making them a universal language.
- Faster learning – Knowing how to read a guitar chord chart helps you switch between chords more efficiently.
- No prior theory needed – Even if you don't read sheet music, you can still play confidently using a chord chart.
Visualizing the Chord Chart
Think of a chord chart as a snapshot of your guitar neck:
- The vertical lines represent the guitar strings (from low E to high E, left to right).
- The horizontal lines are the frets.
- Dots or circles show where to place your fingers.
- An “X” above a string means you don’t play that string; an “O” means you play it open.
Learning to read these simple elements puts you in control. You’ll no longer just memorize chords — you’ll understand them.
Your First Step Toward Playing Real Songs
Whether you dream of playing acoustic ballads or jamming to your favorite pop tunes, understanding a guitar chord chart is where it all begins. It's the foundation that supports everything from basic strumming to complex fingerstyle.
And if you're ready to start applying what you learn, consider enrolling in structured guitar classes online designed specifically for beginners. It’s the perfect way to reinforce your learning while having fun.
So don’t be intimidated by the charts — embrace them. Because the moment they make sense is the moment your guitar begins to speak your language.
2. Anatomy of a Guitar Chord Chart
Ever looked at a guitar chord diagram and wondered, “What do all these lines, dots, and numbers mean?” You’re not alone. Understanding the structure of a guitar chord notes chart is the key to unlocking smoother practice sessions and confident playing.
Let’s break it down so you can decode any chord chart like a pro.
Visual Layout: Making Sense of the Grid
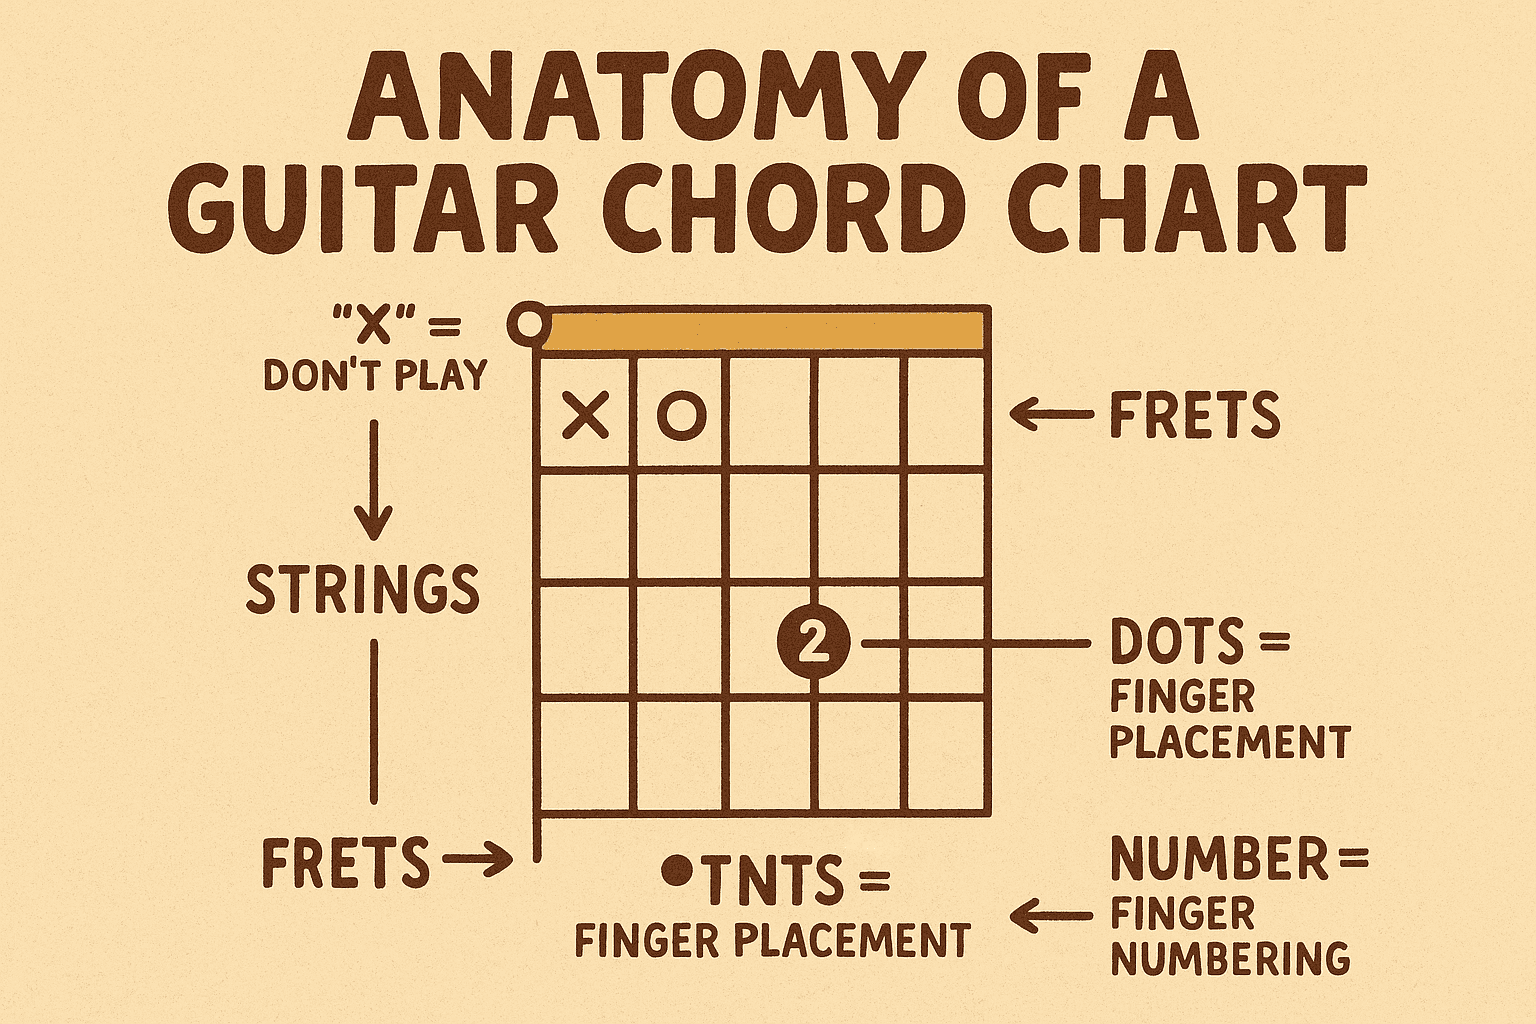
A standard guitar chord chart is a grid made up of six vertical and several horizontal lines. Here’s what each element represents:
- Vertical Lines = Strings From left to right, these lines represent the six strings of the guitar: Low E, A, D, G, B, and High E.
- Horizontal Lines = Frets These lines represent the frets on your guitar neck. The top horizontal line usually indicates the nut, and the lines below show the next frets (1st, 2nd, 3rd, etc.).
- Dots = Finger Placement A dot on the grid shows exactly where to place your finger — the intersection of a specific string and fret.
- Numbers Inside Dots = Finger Numbering
1 = Index finger 2 = Middle finger 3 = Ring finger 4 = Pinky
-
“X” and “O” Above the Chart
-
“X” means don’t play that string
-
“O” means play it open (no fingers on the fret)
Bonus Element: Guitar Chord Fingering Chart
Many charts also include guitar chord fingerings next to the diagram, helping you know which finger goes where. This is especially helpful when learning new chords or refining your technique.
Quick Example: The G Major Chord
Here’s how a G major chord might be represented:
- Dots on the 3rd fret of the low E string (with finger 2),
- 2nd fret of the A string (finger 1),
- 3rd fret of the high E string (finger 3),
- All other strings open.
When you learn how to read a chord diagram guitar like this, playing becomes far less intimidating and far more intuitive.
Why This Matters for Beginners
Understanding the anatomy of a guitar chord chart gives you clarity. Instead of guessing or relying on memory, you have a consistent, visual reference that grows with you. It helps you:
- Avoid finger placement mistakes
- Develop better hand positioning
- Learn faster and smarter
If you're looking to practice these fundamentals with expert guidance, don’t hesitate to book a free trial class. It’s a great way to turn what you’ve learned into real progress.
So, the next time you see a chord chart, you’ll know exactly what it’s telling you — and how to turn it into music.
3. How to Read a Guitar Chord Chart Step-by-Step

So, you’ve seen a guitar chord chart — now what? If you’re wondering how to read guitar chords without getting overwhelmed, you’re in the right place. Learning to interpret these visual guides is easier than you think, and this step-by-step approach will help you decode any chord diagram with confidence.
Let’s walk through it together.
Step 1: Understand the Orientation
First things first: the chart might look like a puzzle, but it’s actually a vertical view of your guitar’s fretboard — as if you’re holding the neck upright and looking straight at it.
- Vertical lines = strings (from low E on the left to high E on the right)
- Horizontal lines = frets (starting with the nut, then moving down the neck)
Once you internalize this layout, everything starts to click.
Step 2: Decode the Symbols
To read a chord chart for guitar, you'll need to understand what each symbol means:
- Dots: Indicate where to place your fingers on the fretboard.
- Numbers inside the dots: Show which finger to use (1 for index, 2 for middle, and so on).
- O above a string: Play that string open.
- X above a string: Don’t play that string at all.
Each element guides you to the perfect finger placement — no guesswork required.
Step 3: Apply Finger Positioning
Here’s how to apply what you see in the chart to your guitar:
-
Find the correct string and fret For example, a dot on the third vertical and second horizontal line means: 3rd string, 2nd fret.
-
Place the right finger Refer to the number inside the dot. If it's a "1", use your index finger.
-
Mute or play open strings as directed Pay attention to those X's and O's above the strings — they make or break the chord's sound.
This method works for any chord — from a simple E major to more complex barre chords.
Step 4: Practice with Intention
Reading a chord chart is just the beginning. The magic happens when you put that knowledge into practice:
- Start with beginner-friendly chords like C, D, G, Em, and Am.
- Strum slowly, checking each note rings clearly.
- Use a mirror or take videos to correct finger posture.
Once you’re comfortable with this process, try applying it in guitar classes online where expert feedback can fine-tune your skills and accelerate your learning curve.
Why This Matters
Learning how to read chord diagrams gives you the ability to play any chord from a sheet, a songbook, or even online. No more relying on memory or imitation — you'll develop real musical literacy.
So take it slow, revisit these steps as often as needed, and celebrate the small wins. Because every chord you read is one step closer to the guitarist you’re becoming.
4. Common Beginner Chords and Their Charts

Ready to start playing actual chords? This is where things get exciting. Now that you know how to read a guitar chord chart, it’s time to apply that knowledge to some of the most popular and beginner-friendly chords every guitarist should know.
These foundational chords are used in thousands of songs across genres—from pop and rock to country and folk. Learning them helps you build muscle memory, improve finger strength, and gain confidence quickly.
Must-Know Beginner Guitar Chords
Here are some of the easiest and most widely used chords you’ll come across in any guitar chords chart for beginners:
1. C Major
- Bright and classic
- Common in ballads and pop songs
- Stretchy for beginners, but great for hand flexibility
2. G Major
- Very versatile and full-sounding
- A favorite for acoustic songs
- Helps build strength in your ring and pinky fingers
3. D Major
- Great for upbeat rhythms
- Easy transition to A and G chords
4. A Minor (Am)
- A beautiful, moody tone
- Easy to switch to from C major
5. E Minor (Em)
- The simplest chord—just two fingers
- Used in countless songs from blues to metal
6. D Minor (Dm)
- Emotional, dramatic sound
- A great way to explore minor chord progressions
What a Complete Guitar Chord Chart Looks Like
A complete guitar chord chart will include all these basic chords (and many more), often displayed in a grid layout with finger positions and string directions.
Here’s what to look for:
- Clear diagrams with finger numbers
- Frets labeled correctly
- X’s and O’s for muted/open strings
- Groupings by major, minor, and seventh chords
You can also download or print a chord chart for guitar free from trusted music learning platforms or build your own collection using chord templates.
Practicing These Chords the Right Way
Before jumping into songs, try this practice routine:
- Pick 3 chords a day to focus on
- Strum slowly, checking each string sounds clear 3.Use a metronome to build rhythm gradually 4.Record yourselfto track progress and identify mistakes
And if you want expert help, personalized feedback, or structured learning, don’t hesitate to book a free trial class and experience how quickly your chord transitions can improve with the right guidance.
5. Tips for Practicing with Chord Charts

Knowing how to read a guitar chord chart is a great start—but putting that knowledge into practice is where the magic happens. If you're struggling to switch chords smoothly, dealing with buzzing strings, or just trying to build confidence, you’re not alone. Every guitarist faces these challenges in the beginning.
The good news? A smart, consistent practice routine can make all the difference.
Make Your Practice Sessions Count
Here are some actionable tips that can help you use a guitar chord template effectively and see real progress:
1. Start Slow and Stay Consistent
- Focus on accuracy before speed.
- Practice 15–20 minutes daily rather than cramming once a week.
- Track your improvement weekly—small wins add up!
2. Use Visual Aids and Templates
- Keep a guitar chord fingering chart nearby while you play.
- Refer to your chord sheet every time you get stuck—it reinforces memory.
- Download printable chord templates for quick offline practice.
3. Drill Chord Changes
- Choose two chords and switch between them for 60 seconds.
- Gradually increase speed while maintaining clarity.
- Record yourself and listen to how clean your transitions sound.
4. Include Strumming Practice
- Don’t just focus on the fingers—add rhythm!
- Start with basic downstrokes, then try down-up patterns.
- Use a metronome to keep time and improve muscle memory.
Pro Tip: Use Mirror or Phone Camera
Watching your hand placement can help identify posture issues. Place a mirror in front of you or record a quick video to review finger position, wrist angle, and tension. It’s like having a teacher beside you!
Common Mistakes to Avoid
Even with the best intentions, beginners sometimes fall into common traps. Keep an eye out for:
- Pressing too hard on the strings (causes pain and fatigue)
- Ignoring finger numbers on the chord chart for guitar
- Skipping warm-ups, leading to stiff fingers
- Trying to learn too many chords at once
Remember, quality beats quantity. Mastering five chords is better than fumbling through fifteen.
Get Feedback That Fuels Your Growth
Practicing on your own is important, but having a guide can accelerate your learning tenfold. If you’re ready to level up, explore expert-led guitar classes online where you’ll get structured practice, live feedback, and personalized tips.
Your Practice = Your Progress
Every chord you play, every transition you attempt, and every strum you repeat brings you one step closer to becoming the guitarist you envision. Be patient, stay consistent, and most importantly—enjoy the journey.
Your guitar is more than an instrument. It’s your creative voice. Let it speak, one chord at a time.
6. Tools and Resources to Learn Chord Charts Easily
Learning to play the guitar doesn’t have to be a solo mission filled with confusion and guesswork. Today, there are countless tools, apps, and resources designed specifically to help beginners like you understand and practice guitar chord charts with ease. Whether you're more of a visual learner or someone who prefers interactive lessons, there's something out there for everyone.
Let’s explore some of the best ways to simplify your guitar learning journey.
Digital Tools for Visual Learners
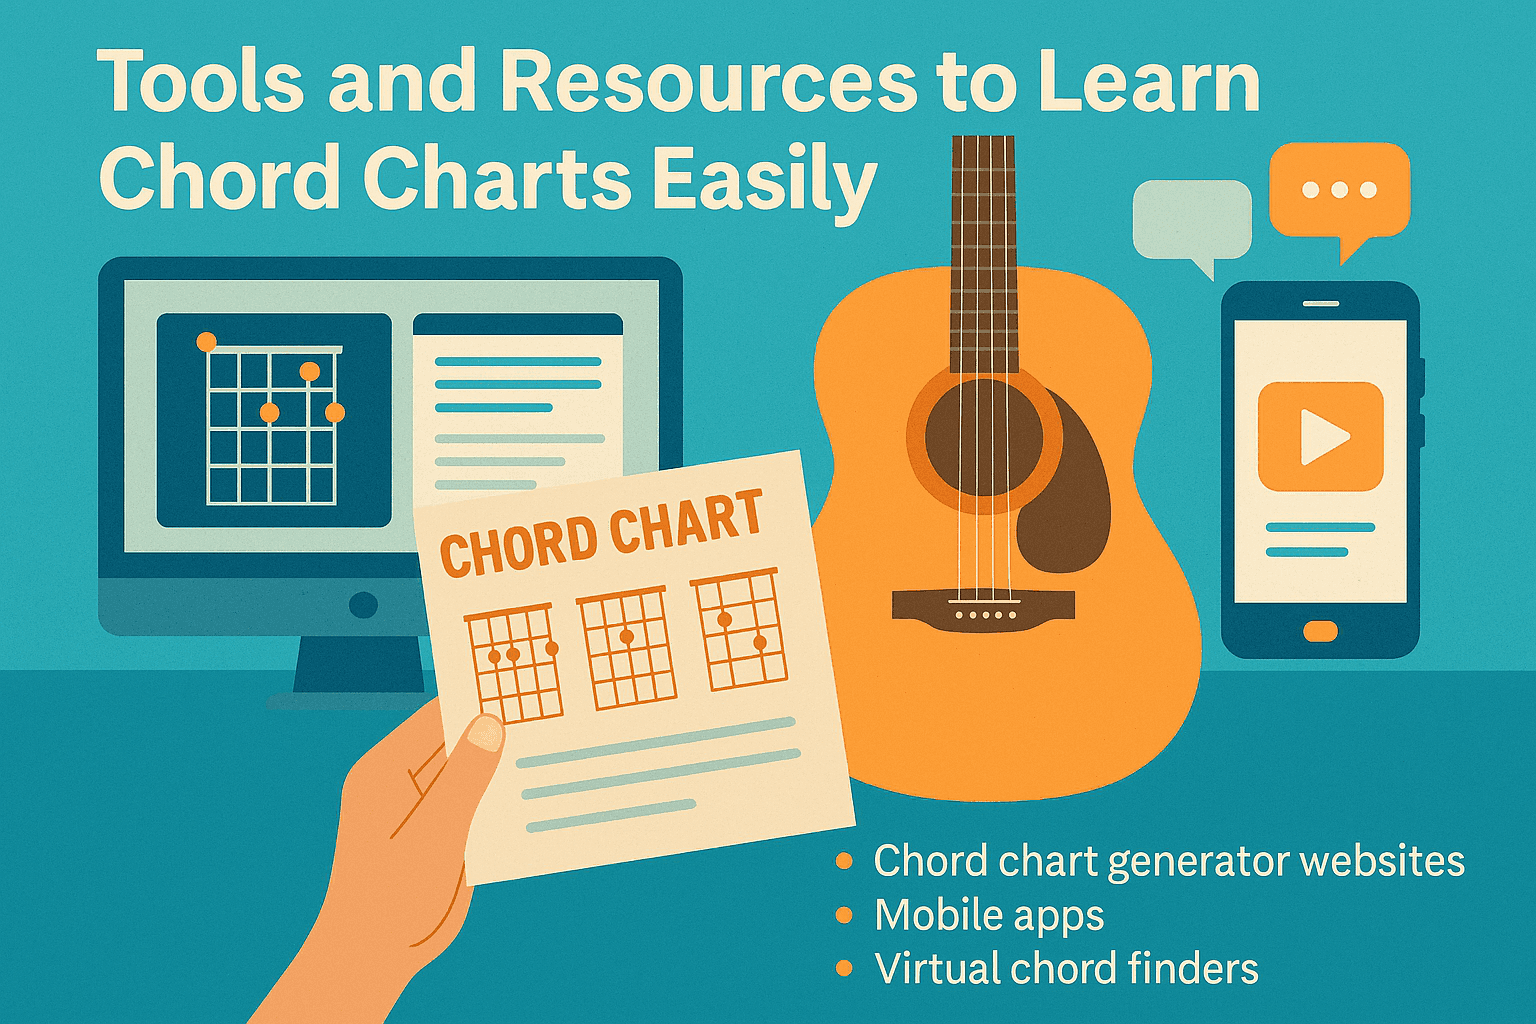
If you find yourself searching for images of chords of guitar or wondering which finger goes where, these tools are game-changers:
- Chord chart generator websites – Create your own diagrams using any chord you like.
- Mobile apps – Try platforms like Yousician, Fender Play, or Justin Guitar for interactive learning.
- Virtual chord finders – Input a chord name and get a detailed chord diagram guitar instantly.
These platforms not only show you how to read guitar chord tabs but also let you hear how the chord should sound—helping you train both your eyes and ears.
Printable Resources to Keep Handy
Prefer learning offline? You’re not alone. Many beginners love having a physical reference to glance at during practice. Here’s what you can print or download:
- Guitar chords tablature chart – Shows you a range of chords with finger positions.
- Chord chart for acoustic guitar – Focuses on chords that sound best on acoustic setups.
- Guitar chord sheet templates – Great for creating your own custom setlists or exercises.
Hang them on your wall, keep them in your guitar case, or tape one to your practice space—whatever keeps the chords at your fingertips.
Practice Support That Actually Works
Besides charts and diagrams, here are a few helpful tools to level up your practice sessions:
- Metronome apps – Improve rhythm and timing
- Guitar tuner apps – Always play in perfect pitch
- Chord progression builders – Learn how chords work together in real songs
- Video breakdowns – Watch professionals demonstrate exact finger placement and transitions
When these tools are combined with a consistent routine, your learning curve flattens—and your confidence grows.
Structured Learning Makes It Simpler
Sometimes, the best resource is a great teacher. Online programs make it easier than ever to learn from professionals, right from the comfort of home. If you're looking for guidance, feedback, and step-by-step instruction, it's worth considering a structured course.
You can even book a free trial class and see how much easier it becomes to interpret chord charts with real-time support.
One Step at a Time
Remember: every tool is only as good as your willingness to use it. Whether it's a chord chart for acoustic guitar or a smartphone app showing you the correct fingering, make it part of your daily routine.
Consistency, curiosity, and the right resources—those are your secret weapons to mastering guitar chord charts. Use them well, and watch your practice turn into progress.
Ask ChatGPT
7. Avoiding Common Mistakes When Reading Chord Charts
So you’ve started practicing with your guitar chord chart, but something still feels off? Maybe the chords sound muted, or your fingers aren’t quite landing where they should. Don’t worry — this stage is completely normal. In fact, most beginners stumble over a few common mistakes when learning how to read chords. The key is to catch these errors early so you can correct them and grow faster.
Let’s uncover the most frequent pitfalls and how to avoid them.
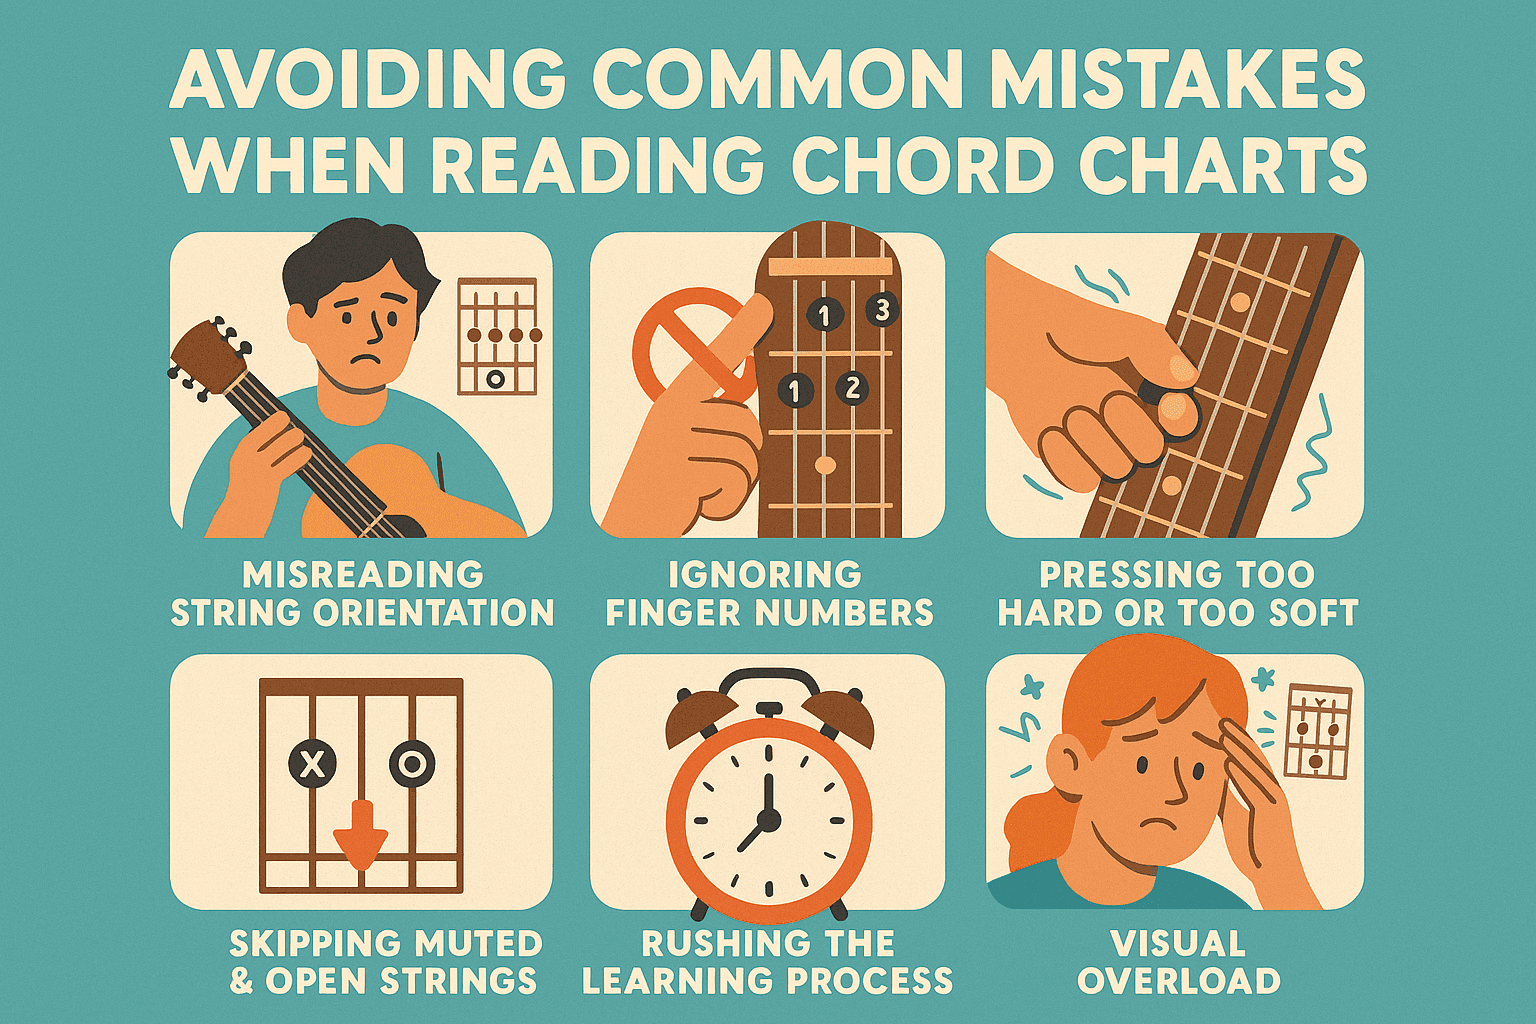
Mistake #1: Misreading String Orientation
It’s easy to get turned around. A six-string guitar chord chart is read vertically, with the low E string on the left and the high E on the right. But beginners often flip this in their minds, placing fingers on the wrong strings.
Fix it: Hold your guitar vertically when first reading charts — this helps match the visual to your real-world view.
Mistake #2: Ignoring Finger Numbers
Finger numbers (1 for index, 2 for middle, etc.) aren’t suggestions — they’re strategic. Using the wrong fingers can make transitions clumsy and slow.
Fix it: Follow the guitar chord fingerings shown in the diagram. Over time, it’ll become second nature and save you from awkward hand stretches.
Mistake #3: Pressing Too Hard or Too Soft
When you're unsure, it’s natural to press too hard and tense up — or not press hard enough and get buzzing strings.
Fix it:
- Apply just enough pressure for a clean sound
- Keep your fingers close to the fret
- Relax your wrist and hand to avoid strain
Mistake #4: Skipping Over Muted and Open Strings
Those tiny "X" and "O" symbols above your guitar chord chart carry big meaning. Play the wrong string and the chord won’t sound right.
Fix it:
- Use your thumb or index finger to gently mute strings you shouldn't play
- Practice chord-specific strumming patterns to hit the right strings consistently
Mistake #5: Rushing the Learning Process
Trying to memorize all chords at once or rushing transitions just leads to frustration.
Fix it:
- Start with 2–3 chords and master them fully
- Use drills and slow strumming patterns
- Build from easy to complex over time
Bonus: Watch Out for Visual Overload
While exploring resources online, especially international ones, you might encounter unfamiliar terms like guitar akkorder. These are simply translations (e.g., "akkorder" means chords in German), but can add confusion if you’re not aware.
Tip: Stick to consistent learning platforms and resources that explain concepts in your preferred language.
Learn Smarter, Not Just Harder
Being aware of these mistakes means you're already ahead of the curve. Every guitarist, even the greats, has gone through this phase. It’s all part of the process.
Want to fast-track your progress and avoid trial-and-error learning? Join structured guitar classes online where expert instructors help you correct these habits early. You can even book a free trial class and get personalized feedback to boost your confidence.
With a clear understanding of what to watch for, your practice sessions will feel more productive, more enjoyable, and a lot less frustrating. You’ve got this — keep strumming!